
Unhide All Tabs in Excel: The Complete Guide for Pro Users
Why Mastering Tab Management Transforms Your Excel Experience
Imagine inheriting a massive Excel workbook overflowing with data, yet navigating it feels like getting lost in a maze. Key information seems elusive. This often happens when dealing with hidden tabs in Excel. Professionals use this feature for strategic reasons, from protecting sensitive calculations, like proprietary pricing models, to streamlining the user experience by showing only essential data. For example, a financial analyst might hide worksheets containing raw data and present summarized figures on a dashboard tab.
This organizational tactic can become problematic when you need access to those hidden worksheets, especially if you didn't create the workbook. This is where mastering the art of unhiding all tabs in Excel becomes invaluable. Hidden tabs contribute to a cleaner, more organized workbook. Think of it like decluttering your physical workspace – by tucking away unnecessary items, you create a more focused environment.
Excel users often hide worksheets to protect sensitive data or to declutter their workbooks. However, unhiding all tabs at once can be challenging without advanced methods like VBA macros. As of 2021, Office 365 users gained the ability to unhide multiple sheets simultaneously, significantly simplifying the process. Learn more about unhiding Excel sheets here: 3 Methods to Unhide All Sheets in Excel.
The Benefits of Efficient Tab Management
The conventional method of unhiding Excel tabs, clicking through each one individually, can be incredibly time-consuming, especially with numerous hidden sheets. This frustration is common even for experienced Excel users. Mastering advanced unhiding techniques, like using VBA or Office 365's multi-sheet unhiding feature, can save hours of tedious clicking. This time saved increases productivity and allows for more focused analysis.
-
Improved Workflow: Imagine unhiding dozens of tabs with a single click. This streamlined process significantly improves workflow efficiency.
-
Enhanced Data Accessibility: Quickly revealing all hidden tabs ensures access to all the necessary information for comprehensive analysis. This is crucial for informed decisions.
-
Better Collaboration: Efficient tab management simplifies sharing workbooks with colleagues, ensuring everyone has access to the same information, even if some worksheets are intentionally hidden for organization.
Strategic worksheet management often parallels effective broader planning. For example, consider including a link to resources on estate planning. You might be interested in how to master pivot tables in Excel to further improve your data analysis skills. Mastering these techniques empowers you to navigate complex workbooks efficiently and extract valuable insights. This control over your data leads to better decision-making and a more impactful use of Excel's capabilities.
The Standard Method: Why Excel Makes Tab Unhiding So Tedious
Unhiding worksheets in Excel can sometimes feel cumbersome. The typical process requires unhiding sheets individually, a common source of frustration. This section examines this standard approach, exploring why it exists and how to work around its limitations. We'll cover how to spot hidden worksheets and use keyboard shortcuts for a slightly faster process.
Identifying Hidden Worksheets
First, determine if any worksheets are hidden. This isn't always obvious, particularly in workbooks containing many tabs. Examine the sheet tabs at the bottom of the Excel window. A small right-pointing arrow next to the visible tabs signals hidden sheets. This subtle indicator is easy to miss, but it’s crucial for uncovering hidden content.
The Unhide Dialog Box: A Step-by-Step Guide
Once you’ve identified hidden sheets, right-click on any visible tab and select "Unhide." This action opens the "Unhide" dialog box, which displays all hidden worksheets. Select the desired sheet and click "OK" to unhide it. This process, while simple, becomes time-consuming when numerous tabs are hidden. Imagine unhiding 50 individual tabs—a considerable task.
To better understand common hiding scenarios, let's look at the following:
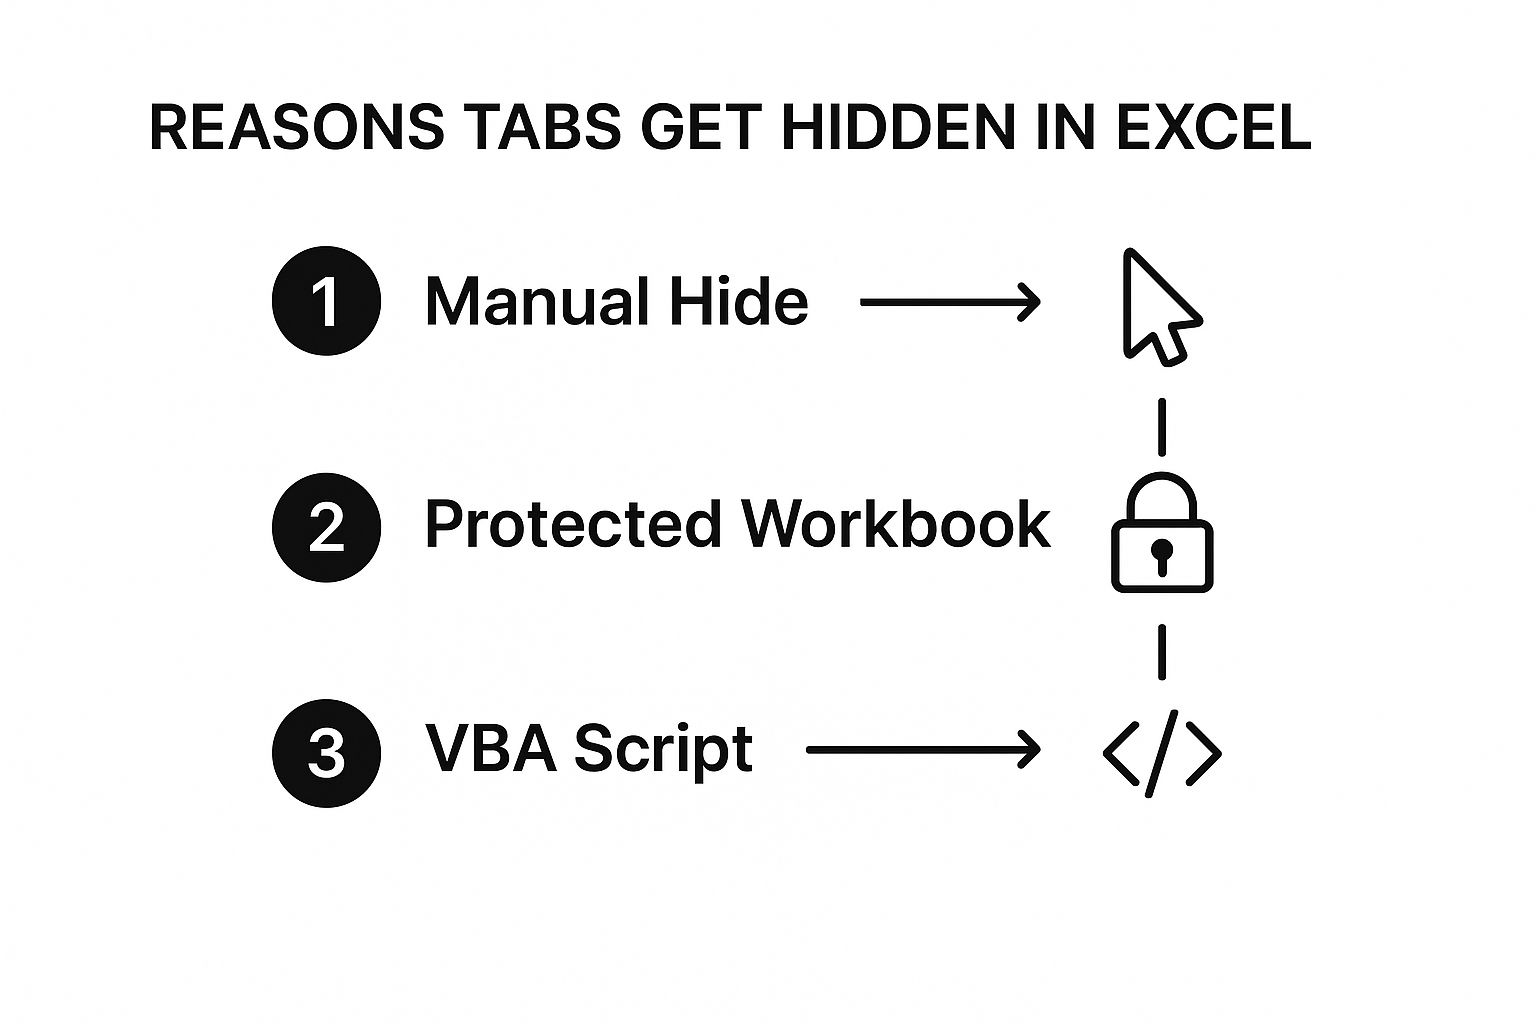
This infographic shows the three main ways worksheets are hidden: manually by users, via workbook protection, or through VBA scripts. Recognizing these different scenarios helps you choose the best unhiding method.
Keyboard Shortcuts for Faster Unhiding
While the dialog box is the standard method, keyboard shortcuts offer a small improvement. Navigating the "Unhide" list with the arrow keys and pressing Enter to confirm is marginally faster than using the mouse. However, each hidden sheet still requires individual selection. This method works for unhiding a few tabs, but it underscores the need for a more efficient solution when dealing with many hidden sheets.
When the Standard Method Makes Sense
The standard method, despite its limitations, has its uses. If only one or two sheets are hidden and you know their names, it can be quicker than using VBA. It also provides a visual list of all hidden sheets, helpful for understanding the workbook’s structure. For those frequently working with complex workbooks and numerous hidden tabs, more advanced techniques, discussed later, offer far greater efficiency. You can also explore ways to automate your data analysis to further optimize your workflow.
Let's summarize the different methods in a table:
Comparison of Tab Unhiding Methods in Excel This table compares different methods for unhiding tabs in Excel, highlighting their pros, cons, and imagined compatibility across Excel versions.
| Method | Difficulty Level | Speed | Excel Versions | Pros | Cons |
|---|---|---|---|---|---|
| Standard Dialog Box | Beginner | Slow | All | Simple, visual list of hidden sheets | Tedious for many sheets |
| Keyboard Navigation in Dialog | Beginner | Slightly Faster | All | Marginally quicker than mouse clicks | Still requires individual selection |
| VBA Macro (Discussed Later) | Advanced | Very Fast | All | Efficient for numerous sheets | Requires coding knowledge |
Key takeaway: While the standard method works for simple cases, more efficient techniques are essential when dealing with many hidden sheets.
Unlock Hidden Sheets Instantly With VBA Power Techniques

Manually unhiding numerous Excel tabs can be a real time-sink. But there's a faster way: Visual Basic for Applications (VBA). Don't worry, you don't need to be a coding expert. If you can copy and paste, you can use these techniques.
Introducing the VBA Editor and Basic Syntax
First, open the VBA editor by pressing Alt + F11. This launches the Visual Basic environment. Next, insert a new module by navigating to Insert > Module. This creates a dedicated space for your VBA code.
A basic VBA macro for unhiding all sheets looks like this:
Sub UnhideAllSheets() Dim ws As Worksheet For Each ws In ThisWorkbook.Worksheets ws.Visible = xlSheetVisible Next ws End Sub
This simple code cycles through each worksheet in your workbook and sets its visibility to xlSheetVisible. Excel has evolved over the years, and its robust support for macros and VBA scripts allows for powerful automation. These scripts enable actions, like instantly unhiding all sheets, that aren't possible through the standard Excel interface. Learn more: How to Unhide All Excel Sheets.
Understanding the Code Components
Let's break down this code piece by piece. Sub UnhideAllSheets() starts the macro. Dim ws As Worksheet declares a variable, ws, to represent each individual worksheet. For Each ws In ThisWorkbook.Worksheets loops through all worksheets within the active workbook. ws.Visible = xlSheetVisible makes each worksheet visible. Finally, End Sub signals the end of the macro.
Customizing and Running Your Macro
This VBA code is highly adaptable. You can modify it, for instance, to unhide only sheets with certain names. This kind of control can be especially valuable when working with complex financial models, which often utilize numerous hidden sheets. See more here: How to build financial models in Excel. To run your macro, simply click within the code and press F5. Alternatively, go back to your Excel sheet and press Alt + F8, select your macro, and click "Run."
Saving and Accessing Your Macro
To easily reuse this macro, save your workbook as a macro-enabled workbook (.xlsm). For even faster access, add it to your Quick Access Toolbar. This allows for one-click unhiding of all hidden tabs, significantly boosting your Excel efficiency.
Troubleshooting Common Issues
Occasionally, you might encounter sheets that are "very hidden." These won't appear in the standard unhide dialog and won't be affected by the basic macro. Don't worry, a slightly more advanced VBA script can handle these, which we'll explore in a future section. This advanced technique is particularly helpful for financial analysts and data managers who regularly work with complex workbooks containing hundreds of worksheets. By mastering VBA, you can efficiently navigate even the most intricate spreadsheets.
Modern Excel: Multi-Sheet Unhiding for Office 365 Users
Microsoft Office 365 offers a significant advantage when working with Excel: simplified sheet management. This article explores how Office 365 allows you to unhide multiple worksheets at once, eliminating the need for VBA. This is particularly helpful when working with complex, shared workbooks.

Step-By-Step Guide to Multi-Sheet Unhiding
Unhiding multiple sheets is straightforward. Right-click on any visible sheet tab at the bottom of your Excel window. From the menu, select "Unhide." This will open the "Unhide" dialog box. This is where the Office 365 advantage becomes clear.
Instead of selecting a single hidden sheet, you can choose multiple sheets. Here’s how:
- To select contiguous sheets: Click the first sheet, hold Shift, and click the last sheet in the range.
- To select non-contiguous sheets: Hold Ctrl (Cmd on Mac) and click each sheet individually.
Once you've selected all the sheets you want to unhide, click "OK." All selected sheets will reappear in your workbook. This represents a significant workflow improvement.
Why This Feature Is Important
This multi-sheet unhiding feature is a valuable asset, especially in collaborative environments. Imagine a team using a large financial model with numerous worksheets, some hidden for organizational purposes.
With Office 365, team members can quickly unhide relevant sheets without navigating through numerous hidden tabs. This ensures everyone has access to the data they need without disrupting their workflow.
Excel is widely used across many industries, appreciated for its power and ease of use. Hiding and unhiding sheets are crucial for managing large datasets or protecting confidential information. Excel is a popular tool for data analysis with over 750 million users. More detailed statistics can be found here.
Integrating With Other 365 Features
This improved unhiding feature seamlessly integrates with other Excel features exclusive to 365, further enhancing worksheet management. This creates a more efficient and robust system for handling complex, shared workbooks.
Teams can leverage these capabilities to maintain intricate workbooks while ensuring everyone has access to essential data. This streamlined workflow allows teams to focus on analysis and decision-making. You can also find helpful insights into brand management and discover some beauty secrets here. Mastering these Office 365 features empowers users to unlock Excel's full potential for data management and analysis.
Creating a One-Click Unhide Solution for Your Workbooks

Manually unhiding multiple tabs in Microsoft Excel can be time-consuming. Streamlining this process with a custom "Unhide All" button within your workbooks can significantly improve efficiency, especially for teams handling complex files with numerous hidden worksheets. This provides a convenient one-click solution to quickly access hidden data.
Designing Your Unhide Button
First, locate the Developer tab. If it's not visible, navigate to File > Options > Customize Ribbon and enable the "Developer" checkbox. Once the Developer tab is visible, select Insert within the Controls group. Choose the Button control from the Form Controls options.
Click and drag on your worksheet to draw the button where desired. A dialog box will prompt you to assign a macro. Click "New" to create a new macro, which will open the VBA editor.
Implementing the VBA Code
In the VBA editor's newly generated subroutine, paste the following code:
Sub UnhideAllSheets() Dim ws As Worksheet For Each ws In ThisWorkbook.Worksheets ws.Visible = xlSheetVisible Next ws End Sub
This VBA code cycles through each worksheet in the workbook and sets its visibility to xlSheetVisible, unhiding all tabs. Customize the button's look by right-clicking and selecting Format Control. This allows adjustments to size, color, font, and other visual aspects to match your workbook's design.
Here’s a handy table summarizing some common VBA code examples for unhiding various Excel elements:
Common VBA Code Examples for Unhiding Excel Elements
| Element to Unhide | VBA Code | Usage Instructions | Compatibility Notes |
|---|---|---|---|
| All Worksheets | Sub UnhideAllSheets()<br> Dim ws As Worksheet<br> For Each ws In ThisWorkbook.Worksheets<br> ws.Visible = xlSheetVisible<br> Next ws<br>End Sub |
Paste into a VBA module and run. | Works across all Excel versions. |
| Specific Worksheet | Sub UnhideSpecificSheet()<br> ThisWorkbook.Sheets("SheetName").Visible = xlSheetVisible<br>End Sub |
Replace "SheetName" with the actual name of the worksheet. | Works across all Excel versions. |
| All Rows | Sub UnhideAllRows()<br> ThisWorkbook.ActiveSheet.Rows.EntireRow.Hidden = False<br>End Sub |
Run this code while the desired sheet is active. | Works across all Excel versions. |
| Specific Row | Sub UnhideSpecificRow()<br> ThisWorkbook.ActiveSheet.Rows(5).EntireRow.Hidden = False<br>End Sub |
Replace "5" with the desired row number. | Works across all Excel versions. |
This table provides quick access to VBA code snippets, making it easier to manage hidden elements in Excel. Remembering these simple codes can be a powerful time-saver when working with complex spreadsheets.
Enhancing Your Button's Functionality
For further workflow optimization, explore resources like How to master automating data analysis in Excel. The VBA code can also be tailored for selective unhiding, targeting worksheets based on specific names or properties. This advanced functionality benefits financial analysts and project managers dealing with intricate datasets.
Sharing and Protecting Your Unhide Button
The unhide button's functionality remains intact when sharing workbooks, provided recipients enable macros. To safeguard sensitive data, protect the VBA project with a password, restricting access to the "Unhide All" macro. This is crucial when sharing confidential financial or proprietary information. This balance of accessibility and security empowers project managers and data scientists to maintain organized workbooks while ensuring data protection.
Creating this personalized unhide solution significantly boosts productivity, offering a user-friendly way to manage hidden tabs in Excel, regardless of complexity. This empowers users to quickly and efficiently navigate their data.
Troubleshooting: When Unhiding Gets Complicated
Unhiding Excel tabs is typically straightforward. However, there are times when you might encounter unexpected roadblocks. This section addresses common challenges you might face when trying to unhide all tabs in Excel, such as "very hidden" sheets, password protection, and file corruption.
The Mystery of "Very Hidden" Sheets
Sometimes, worksheets are hidden more deeply than usual. These "very hidden" sheets won't appear in the standard Unhide dialog box. This can be confusing if you're not aware they exist. Thankfully, Visual Basic for Applications (VBA) offers a solution.
While the standard ws.Visible = xlSheetVisible won't work in these cases, the xlSheetVeryHidden property can be used to both hide and unhide these sheets. You can modify the VBA code mentioned earlier to incorporate a check for this property, ensuring all worksheets, including the "very hidden" ones, are visible.
Password Protection: Unhiding Blocked by Security
If a workbook is password-protected, unhiding worksheets might be restricted. This security measure prevents unauthorized access to sensitive data. In these situations, you'll need the correct password to remove the protection before unhiding the sheets. Attempting to unhide all tabs in Excel without the password will be unsuccessful.
Before other troubleshooting steps, check for password protection to save time and avoid frustration. Look for indicators of protection in the title bar or when attempting specific actions within the workbook.
Compatibility Issues Across Excel Versions
While most unhiding methods work across different Excel versions, compatibility problems can occasionally arise. For example, VBA code written in a newer version might not function correctly in an older one. Ensure your code is compatible with the Excel versions you and your collaborators are using.
Testing your VBA code across different Excel versions is a good practice. This proactive approach helps identify and address potential compatibility issues before they affect your work. For those looking to improve their Excel skills, check out this resource: How to master XLOOKUP vs. VLOOKUP in Excel.
Damaged Workbooks: Recovering Hidden Sheets
File corruption can sometimes hinder unhiding attempts. If you suspect corruption, try opening the file in a different version of Excel or using Excel's built-in repair feature. This can sometimes restore the workbook and allow you to access the hidden sheets.
If these steps fail, consider copying the visible sheet data to a new workbook. This won't directly recover the hidden sheets but might salvage important data. Remember to regularly back up your workbooks to minimize data loss due to corruption.
When the Unhide Dialog is Empty
Even with an empty Unhide dialog box, hidden worksheets might still exist, particularly "very hidden" ones. Relying solely on the dialog box can be misleading. Using VBA is the most reliable method for detecting and unhiding all sheets, irrespective of their hidden status. This ensures complete access to all workbook content.
By understanding these troubleshooting strategies, you'll be prepared to handle even the most challenging situations when unhiding Excel tabs. These skills are essential for anyone working with complex spreadsheets.
Building a Strategic Approach to Worksheet Management
Unhiding all tabs in an Excel workbook is a helpful skill, but true mastery lies in strategic worksheet management. Think of a well-organized library: simply having access to every book isn't enough. You need a system for categorizing, locating, and understanding the contents of each one. Similarly, effective worksheet management goes beyond simply revealing hidden tabs. It involves developing systems to document, track, and control the visibility of your data.
Documenting Hidden Sheets: Creating a Roadmap for Your Workbook
Imagine searching for specific information in a large workbook containing dozens of hidden tabs. Unhiding them all doesn't solve the core problem: knowing which tab holds the data you need. Therefore, documentation is crucial. A simple yet effective method is creating a dedicated "Index" worksheet. This sheet lists all the workbook's tabs, indicating which are hidden and briefly describing their contents. It acts like a table of contents, providing a clear overview of the workbook's structure.
Additionally, consider a color-coding system for your sheet tabs. For instance, green could represent raw data, blue for calculations, and red for summaries. This visual cue quickly guides you to the information you need, even before unhiding all tabs.
Naming Conventions and Workbook Inventories: Bringing Order to Chaos
Just as a well-organized library uses a consistent cataloging system, your Excel workbooks should follow clear naming conventions. Avoid cryptic names like "Sheet1" or "Data." Instead, use descriptive names that clearly indicate each worksheet's content, such as "Sales_Q1_2024" or "Marketing_Budget." Consistent naming simplifies finding data and promotes better collaboration when sharing workbooks.
For complex workbooks, consider a workbook inventory. This could be a separate Excel file listing all workbooks related to a specific project, along with details about their contents, hidden sheets, and any relevant notes. This master inventory acts as a central hub for managing your spreadsheet ecosystem. Learn more in our article about how to master tracking changes in Excel.
Alternatives to Hiding: Exploring Other Organizational Strategies
While hiding sheets can be useful, it's not always the best solution. Sometimes, alternative strategies offer better organization and accessibility. For example, consider using Groups in Microsoft Excel to organize related worksheets. This lets you collapse and expand groups of tabs, decluttering your workspace without completely hiding the underlying sheets.
Another alternative is using 3D referencing to consolidate data from multiple sheets into a single summary sheet. This eliminates constantly switching between tabs, streamlining your analysis process. You can work with data from multiple sheets without making them all visible.
Implementing Organizational Policies: Preventing Information Silos
In larger organizations, establishing clear policies for worksheet management is essential. This ensures consistency across teams and prevents hidden worksheets from becoming information silos. These policies should cover naming conventions, documentation practices, and procedures for hiding and unhiding sheets. Regularly reviewing and updating these policies is crucial for maintaining their effectiveness. This proactive approach ensures everyone understands proper worksheet management, promoting efficient collaboration and informed decision-making.
By implementing these strategic approaches, you transform your interaction with complex workbooks. You move from simply reacting to hidden tabs to proactively managing your data. This shift empowers you to unlock Excel's full potential and make more informed decisions based on a comprehensive understanding of your data.
Ready to upgrade your Excel skills and workspace? Check out our exclusive collection of Excel-themed apparel and accessories at SumproductAddict. Use code FIRST10 for a 10% discount on your first order!